How To Bypass Kill Switch On Motorcycle? A Complete Overview
Though kill switch functions to turn off the motorcycle quickly, faulty ones may hamper the performance. You may also encounter starting and stalling issues in your vehicle due to the malfunctioning switch. In this case, bypassing the switch can be a good option as a temporary solution before replacing the switch.
But how do you bypass the kill switch on a motorcycle? Normally, you can bypass this switch by sorting it. For two wire switches, disconnect the wires from the switch and mount them together. For 3 wire switches, you need to mount two wires and leave one wire in the open circuit.
Throughout this article, we will discuss the consequences, reasons, and alternatives for bypassing this switch. Therefore, keep reading until the end.
How Do You Bypass The Kill Switch On A Motorcycle?
A kill switch is connected to the ignition coil with a wire. The wire from another end goes to the ground. Thus, when you press this switch, the spark plug won’t get any electricity. As the spark plug sparks stop, your motorcycle will also come to a stop immediately.
The picture below shows the circuit diagram of the kill switch:
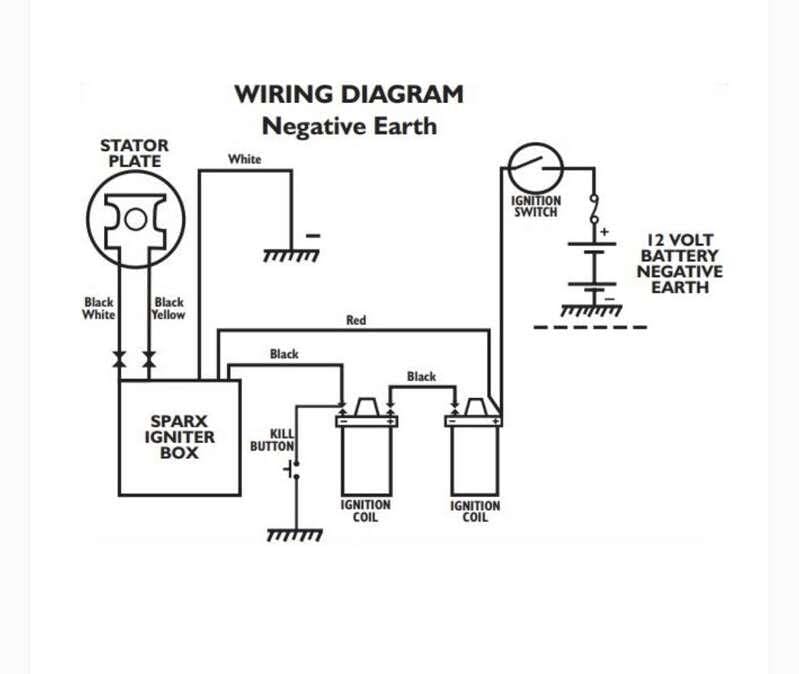
Bypassing this switch means altering its electrical connections. This allows your motorcycle to run even when the kill switch is in the off or kill position.
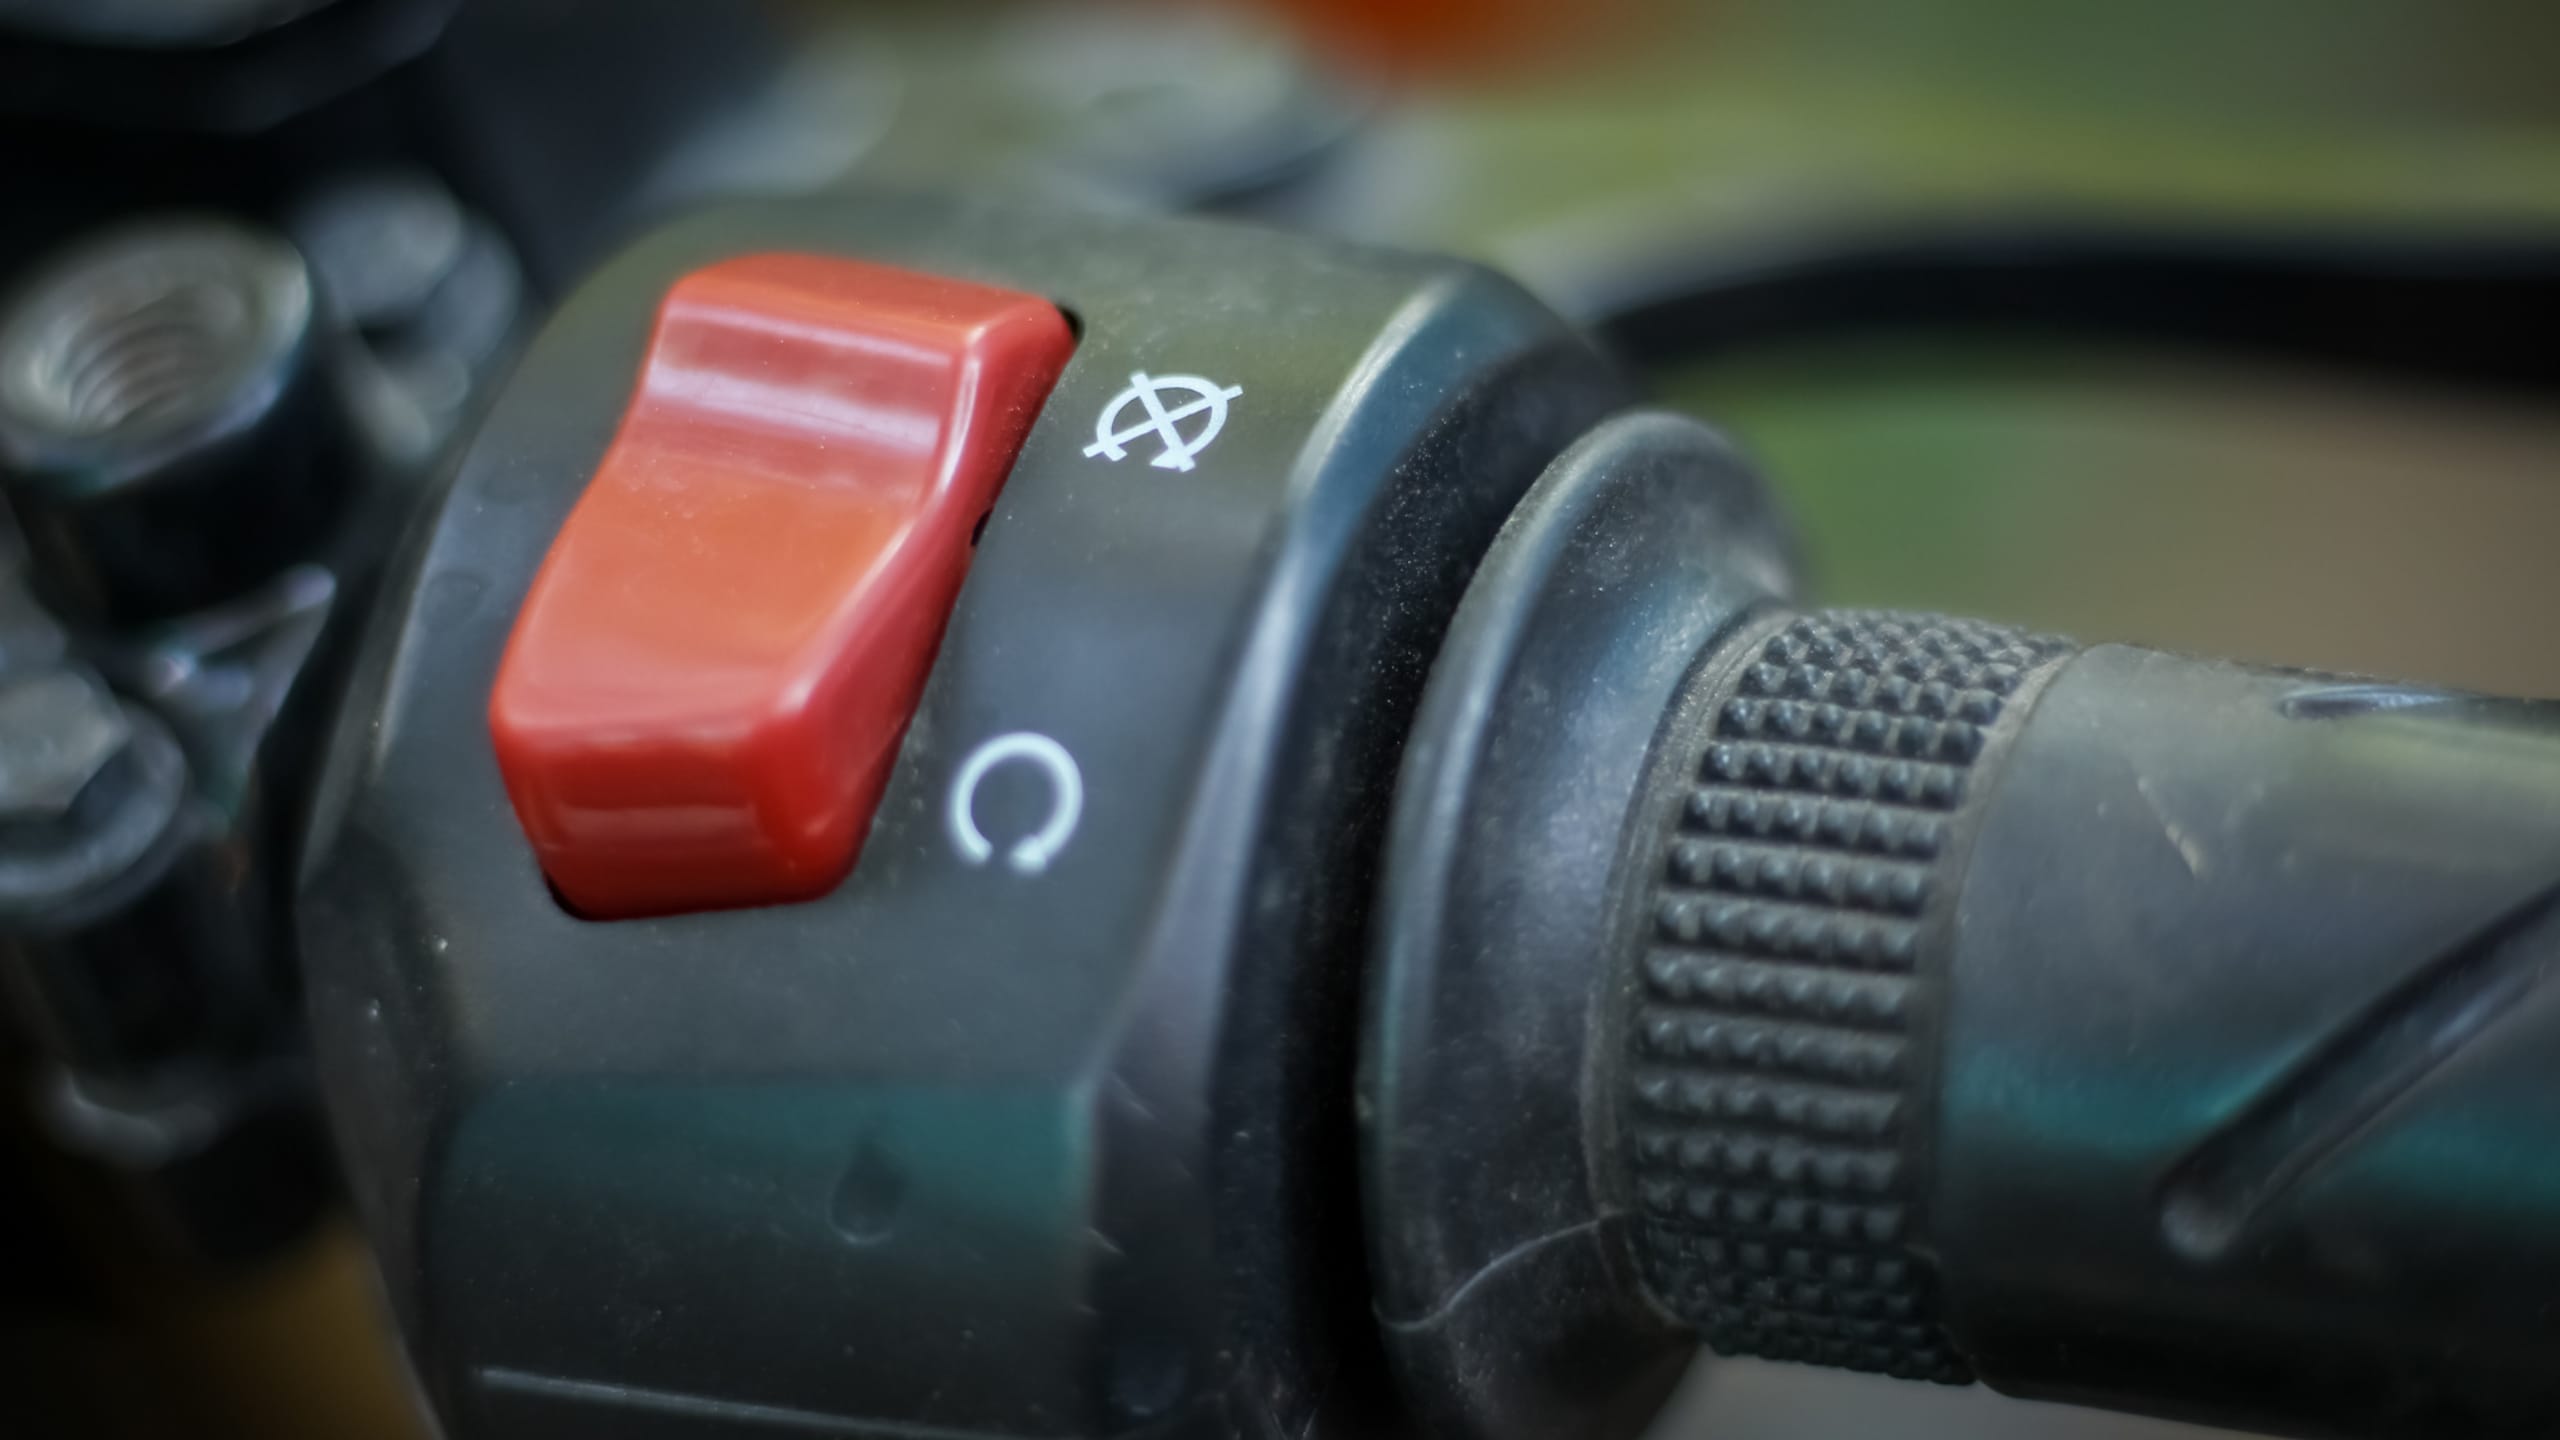
Bypassing the kill switch is quite easy for 2 wire switches. Generally, you will find this switch above the starter switch on the right handlebar. Here are the steps for bypassing:
- Step 1: Pull out the right-hand switch block.
- Step 2: Find the two wires that come from the emergency brake switch.
- Step 3: Disconnect the two wires from the switch terminals
- Step 4: Mount these two wire ends together. You can solder the two ends or use tape to wrap around the connection point. Make sure you are insulating the joint appropriately.
Check this YouTube video to visualize this process better:
Sometimes, the emergency brake switch can also have 3 wires. The color of the wires will be grey-green, green-black, and orange-blue stripes. In this case, follow these steps:
- Step 1: Disconnect the gray-green and green-black wires from the switch.
- Step 2: Attach the two ends of those wires by soldering or wrapping tape around the connection.
- Step 3: Don’t connect the orange-blue stripe wire with anything after detaching it from the switch. Just insulate the end by wrapping it with tape.
Check this YouTube video to understand the 3-wire kill switch connection:
What Are The Consequences Of Bypassing Kill Switch Of The Motorcycle?
Bypassing a motorcycle kill switch can have several consequences, including safety and operational risks:
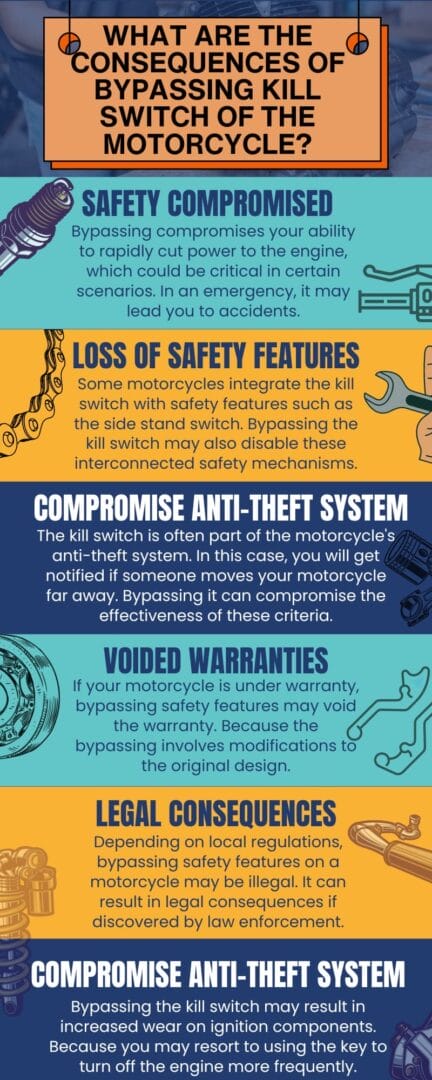
- Safety Compromised: Bypassing compromises your ability to rapidly cut power to the engine, which could be critical in certain scenarios. In an emergency, it may lead you to accidents.
- Loss of Safety Features: Some motorcycles integrate the kill switch with safety features such as the side stand switch. Bypassing the kill switch may also disable these interconnected safety mechanisms.
- Compromise Anti-theft System: The kill switch is often part of the motorcycle’s anti-theft system. In this case, you will get notified if someone moves your motorcycle far away. Bypassing it can compromise the effectiveness of these criteria.
- Voided Warranties: If your motorcycle is under warranty, bypassing safety features may void the warranty. Because the bypassing involves modifications to the original design.
- Legal Consequences: Depending on local regulations, bypassing safety features on a motorcycle may be illegal. It can result in legal consequences if discovered by law enforcement.
- Increased Wear: Bypassing the kill switch may result in increased wear on ignition components. Because you may resort to using the key to turn off the engine more frequently.
When To Bypass Kill Switch On Motorcycle?
As bypassing the kill switch has multiple consequences, it’s better not to do it permanently. But, you can do this for a temporary period if you feel any malfunctioning in that switch.
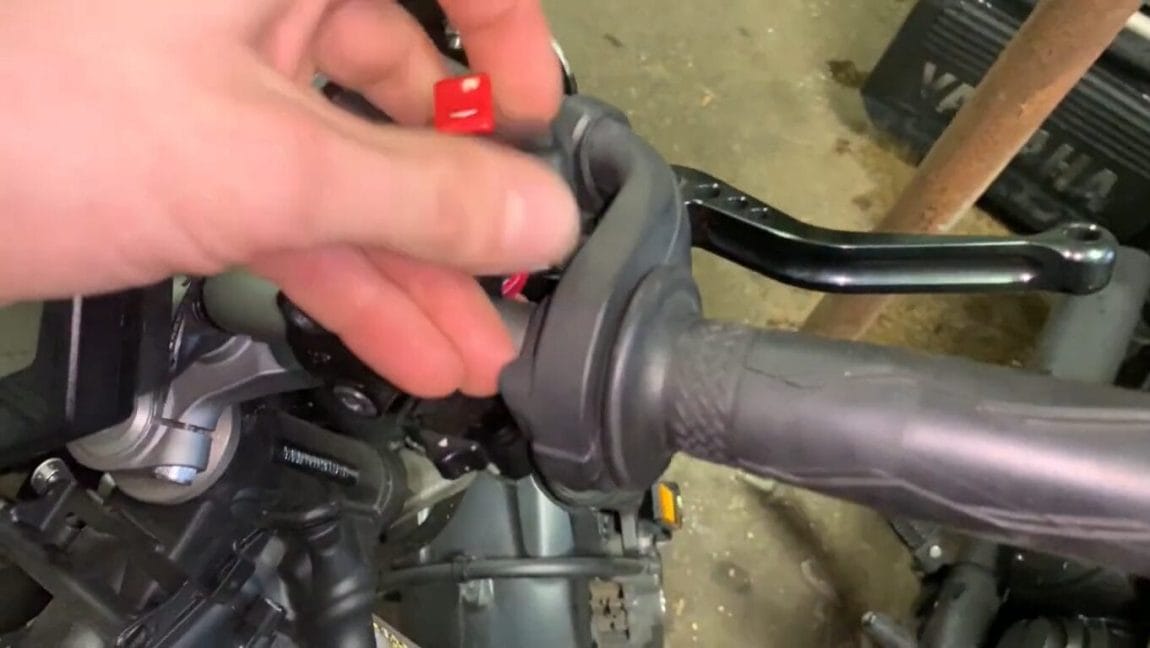
- Sometimes, the kill switch may feel dodgy. Also, the switch may malfunction, causing stalling at a rough path or not working when the switch is on. In this case, you can bypass it until you reach the mechanics or solve it yourself.
- When the vehicle encounters ignition issues, you can assume it is a kill switch fault. In this case, you can also bypass it temporarily.
- During the troubleshooting procedure, bypassing of this switch is performed.
In a nutshell, you shouldn’t drive your motorcycle longer with a bypassed emergency brake switch. You had to solve the underlying issues of this switch’s malfunctioning shortly.
How To Fix Kill Switch Issues Except Bypassing?
If you diagnose any issues with the emergency off switch, instead of bypassing it, follow these methods:
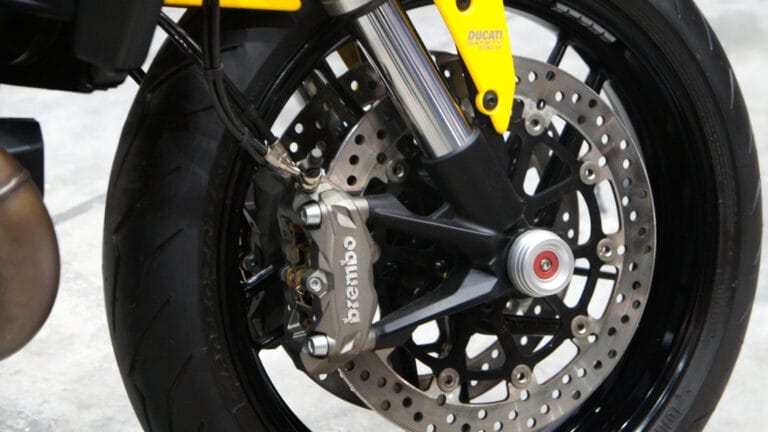
- Cleaning Brake Master Cylinder
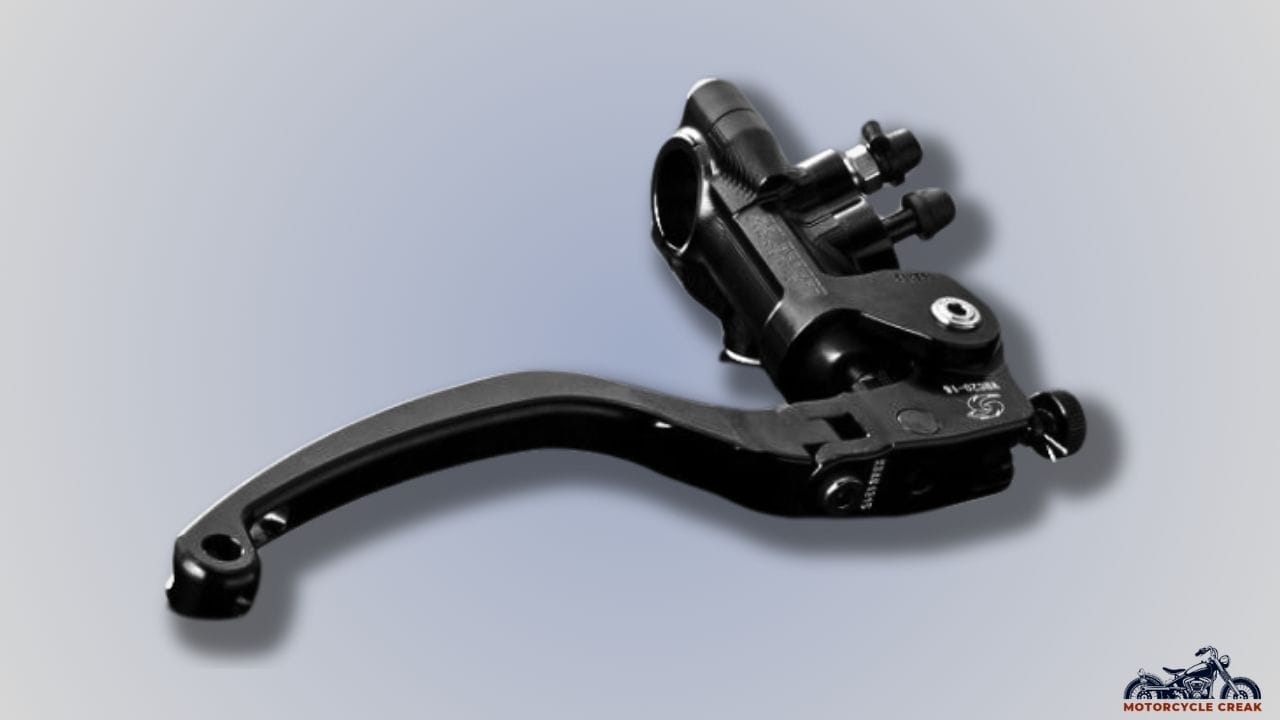
Due to a clogged/dirty master cylinder, the kill switch can malfunction. That’s why it’s needed to clean the cylinder properly.
Here’s a general guide on how to clean the motorcycle master cylinder:
- Step 1: Unscrew the brake fluid reservoir cap, which is generally located above the master cylinder.
- Step 2: Use a turkey baster to remove brake fluid from the reservoir.
- Step 3: Pull out the master cylinder from the motorcycle body by unfastening the screws.
- Step 4: Disassemble the master cylinder, complete with the help of a screwdriver and pliers.
- Step 5: Use a clean towel to clean the master cylinder appropriately.
- Step 6: After cleaning, reassemble the master cylinder and reconnect it to its original place.
- Step 6: Refill the brake fluid reservoir.
- Bleeding Caliper
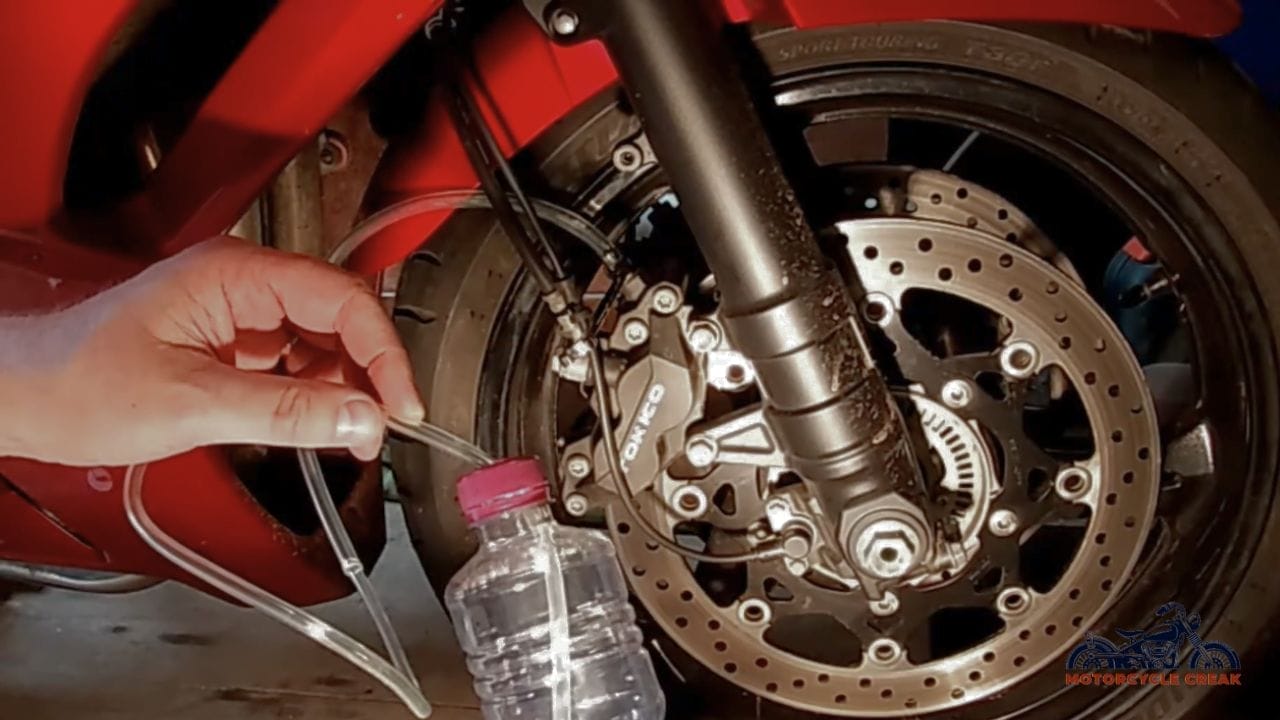
Whenever you open the brake system components, air may get trapped within the brake fluid/braking system. That’s why it’s necessary to bleed the brake after the master cylinder cleaning and topping off the brake fluid reservoir.
For this, follow the below steps:
- Step 1: You need to bleed the caliper that is located far from the master cylinder first. For this, attach a plastic tube with the bleeding valve. Keep another end of the tube inside a drum or pan.
- Step 2: Press the brake and open the bleeding valve.
- Step 3: Close the bleeding valve and release the brake lever.
- Step 4: Continue steps 2-3 as long as the bubble keeps coming with the brake fluid in the pipe.
- Step 5: During this process, maintain adequate brake fluid level.
- Step 6: Once bubbles stop coming with the fluid, close the valve. Then, ditch the plastic pipe in front of the valve.
- Step 7: Top off the brake fluid reservoir and close the cap.
- Replace Killswitch
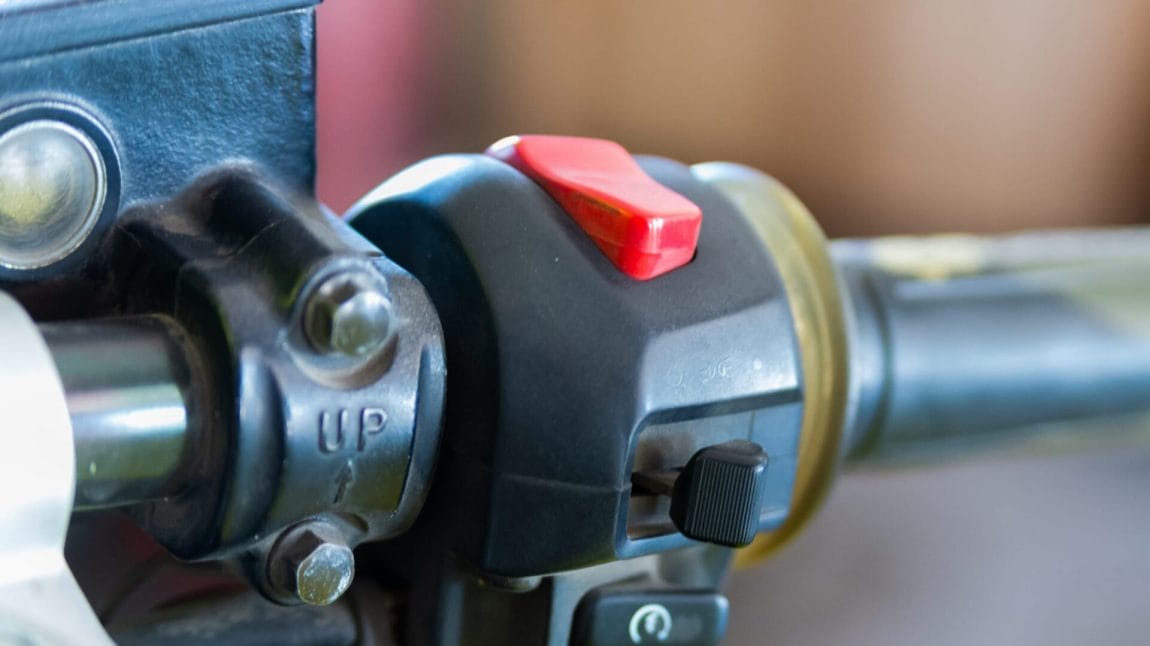
Your bike’s kill switch still malfunctions after cleaning the master cylinder and bleeding the brake. In this case, the switch is faulty, and you must replace it.
- Step 1: To prevent electrical accidents, disconnect the motorcycle battery. Remove the negative terminal first, followed by the positive one.
- Step 2: Locate the screws or bolts that hold the kill switch on the handlebar.
- Step 3: Remove those screws using a screwdriver and then detach the attaching wires with the switch. Remember the placement of those wires on the switch.
- Step 4: Pull out the old switch and place a new one in that position. Attach the wires with the new switch appropriately.
- Step 5: Fasten the screws on the switch to secure its position on the handlebar.
- Step 6: Reconnect the battery.
Check this YouTube video to visualize this replacement process better:
FAQs
In this FAQs section, we will answer several additional questions regarding the bypass and replacement of the bike’s Killswitch.
Will My Bike Run Without A Killswitch?
Yes, you can, as it’s not a compulsory component to start the bike. But this component helps you stop the engine quickly during an emergency. That’s why you shouldn’t run your bike without this component.
Is Killswitch Responsible For Draining Battery?
Keeping the kill switch on will be responsible for draining the battery. If you try to start the bike when the switch is on, it will lead to immediate battery draining. However, if you just leave it on for a prolonged time, the draining will occur slowly.
What’s The Replacement Cost Of Killswitch?
Generally, this component will cost around $10-$100 depending on the bike’s model and kill switch type. Sometimes, with labor costs, the total cost can be as high as $400.
Conclusion
The kill switch of a motorcycle can sometimes malfunction when people consider bypassing it. But how do you bypass the kill switch on a motorcycle? The process is quite straightforward, as you need to shorten the circuit. For this, you need to detach the wires from the switch and connect them.
When this emergency off switch malfunctions, you can bypass it for a short period. After that, you need to address the underlying issue by clearing the master cylinder, bleeding the brake, and replacing the switch. We don’t suggest bypassing a permanent solution, as it can pose a safety risk and void the warranty.

