Can You Start A Motorcycle While On A Battery Tender?
Imagine it’s a brisk autumn morning, and you’re eager to take your motorcycle out for a ride. You grab your gear, head to the garage, and as you press the ignition, all you hear is silence. Frustration sets in—your battery has let you down again. Many riders know this all too well, especially during colder months when batteries can struggle to hold a charge. Statistics show that a motorcycle battery typically lasts 3 to 5 years with proper care, but factors like chilly temperatures and infrequent use can significantly shorten that lifespan.
In these moments, the convenience of a battery tender can feel like a lifesaver, but starting your bike while it’s still connected to the tender carries hidden risks. The surge from the ignition could overload the tender or even cause your battery to overheat, potentially leading to costly damage—or worse, a blown fuse in your motorcycle’s electrical system. So before you rev up, it’s worth understanding the potential hazards and best practices to keep your battery healthy and ready for the ride.
Table of Contents
What is a Battery Tender ?
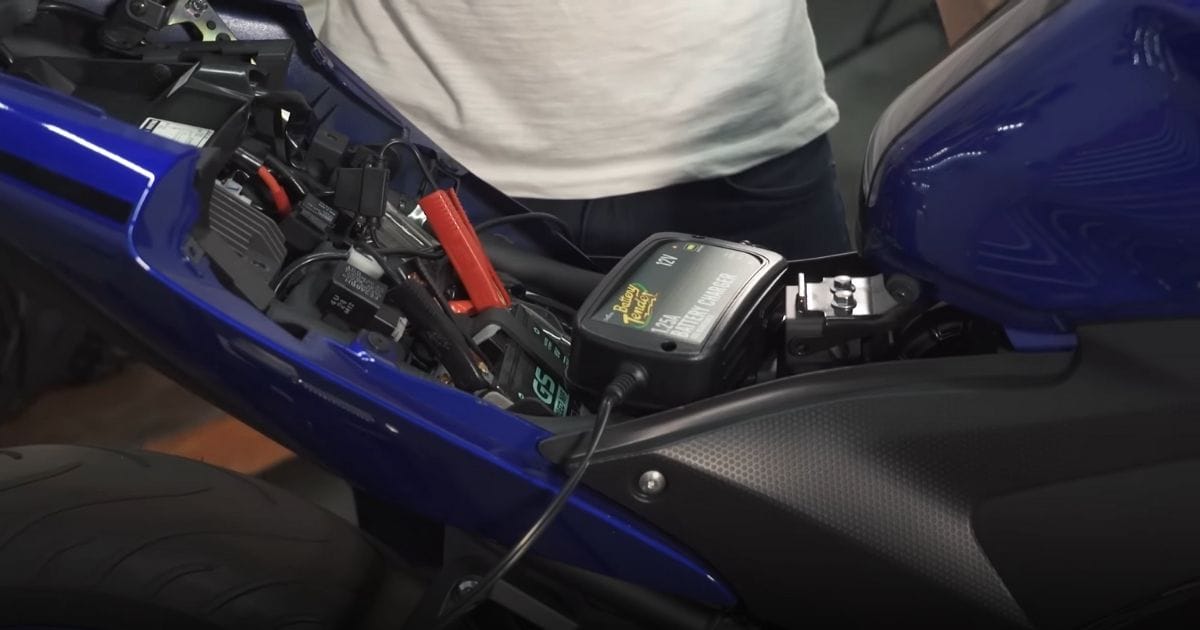
A battery tender, also known as a trickle charger, is a specialized device designed to maintain the charge of your motorcycle’s battery when it’s not in use. Think of it as a guardian for your battery, ensuring it remains in optimal condition without the risk of overcharging. Its primary purpose is to keep the battery at a consistent voltage level, preventing the gradual decline in charge that can lead to a dead battery—especially crucial during those long periods of inactivity or colder months when batteries are prone to losing power.
Types of Battery Tenders
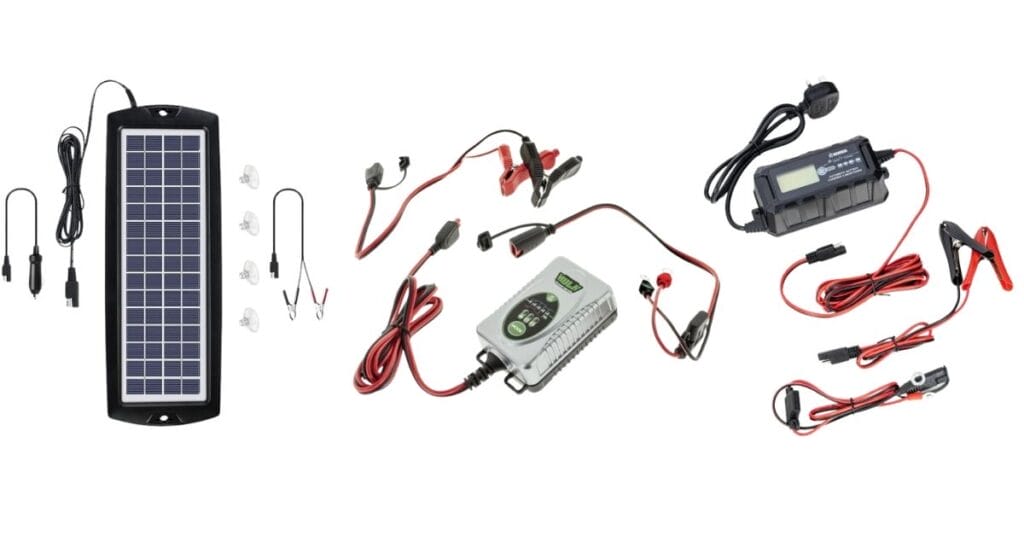
Battery tenders come in various types and offer unique advantages, catering to the specific needs of motorcycle enthusiasts. Choosing the right one can help you maintain your battery’s health and ensure your bike is always ready for the next ride.
- Standard Battery Tenders:
Features: These traditional battery chargers provide a low, steady current to keep the battery charged. They often have simple plug-and-play designs.
Benefits: They’re reliable and simple, making them great for occasional use. They also prevent your battery from falling into a deep discharge state, which can be detrimental over time.
- Smart Battery Tenders:
Features: Smart tenders utilize advanced technology to adjust their output based on the battery’s state automatically. They often include features like microprocessor control and multi-stage charging.
Benefits: These tenders can detect when a battery is fully charged and switch to a maintenance mode, reducing the risk of overcharging. This feature enhances battery longevity and is particularly useful for riders who leave their bikes parked for extended periods.
- Solar Battery Tenders:
Features: These are designed to charge the battery using solar panels, making them perfect for those who want an eco-friendly option or have limited access to power outlets.
Benefits: Solar tenders are portable and can be used in remote locations, ensuring that your motorcycle battery stays charged even when you’re away from home.
Benefits of Using a Battery Tender
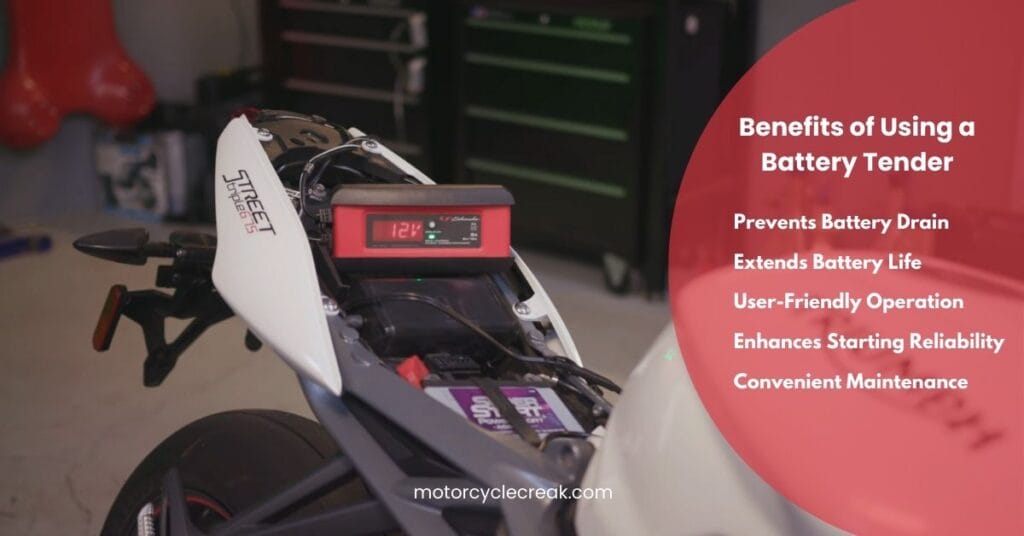
Adding a battery tender to your motorcycle care routine safeguards your battery’s health and enhances your overall riding experience. By preventing battery drain, extending battery life, and ensuring reliability, you’re setting yourself up for smooth rides ahead. Let’s learn in detail about five compelling benefits of battery tenders.
- Prevents Battery Drain:
A battery tender is your best friend when keeping your motorcycle battery charged. When your bike sits idle for long stretches—especially in cold weather—the battery can quickly lose power. By plugging it into a tender, you ensure it stays at an optimal voltage, ready for your next ride without the dread of a dead battery.
- Extends Battery Life:
Think of a battery tender as a nurturing companion for your battery. Regular use helps maintain a steady charge and prevents deep discharges, which can wear out the battery faster. This means fewer trips to the store for replacements and more time enjoying the open road—making it a wise investment in your motorcycle’s future.
- User-Friendly Operation:
Battery tenders are built with simplicity in mind. Most models have simple instructions and safety features that make operation a breeze. With options like overcharge protection and reverse polarity alerts, you can plug it in and forget it, giving you more time to focus on what you love—riding.
- Enhances Starting Reliability:
A well-maintained battery means a smooth start every time. When you rely on a battery tender, you dramatically increase your chances of a reliable ignition. This means fewer moments of frustration when you’re eager to hit the road, allowing you to enjoy the thrill of riding without battery worries.
- Convenient Maintenance:
A battery tender offers hassle-free maintenance for riders who may not use their motorcycles frequently. Connect it when you park your bike, and let it do the work. Some advanced tenders even monitor your battery’s health, providing peace of mind that you won’t have to check it constantly. This convenience allows you to ride with confidence, knowing your bike is ready when you are.
Can You Start a Motorcycle While the Battery Tender Is Connected?
No, you should not start a motorcycle while the battery tender is connected. Doing so poses several risks that can damage your bike’s electrical system and the battery tender itself. Let’s explore why it’s essential to disconnect the tender before starting your motorcycle.
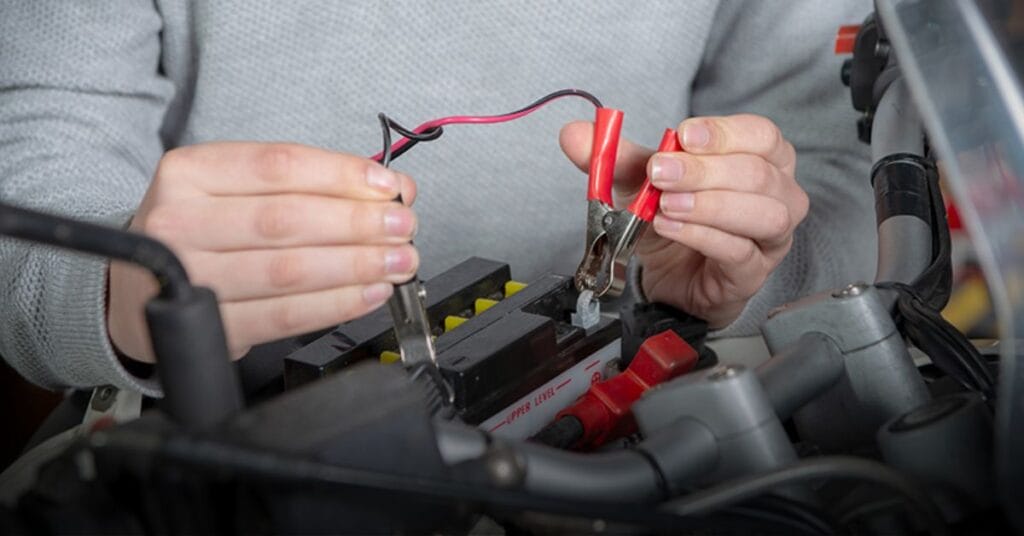
Risks of Starting with the Battery Tender Connected-
- Electrical Overload Risk:
When you start your motorcycle, the ignition system requires a significant amount of current from the battery. If the battery tender is still connected, the sudden surge in power can create an electrical overload. This overload can damage the tender’s circuitry or even the motorcycle’s electrical components, leading to costly repairs. - Sparks and Short Circuits:
Loose or corroded connections can become hazardous when the ignition is activated. The sudden power demand can create sparks, igniting flammable materials nearby and posing a fire risk. Ensuring all connections are secure and clean before starting the bike is crucial to avoid these dangerous situations. - Potential Damage to Battery and Tender:
Battery tenders are designed to provide a low and consistent current to maintain the battery’s charge. When you start the engine with the tender connected, it can cause voltage spikes that degrade the battery’s performance over time. This could lead to battery failure. Similarly, the tender may not be built to handle the high current draw when the engine starts, risking its malfunction. - Manufacturer Warnings:
Most manufacturers of battery tenders explicitly advise against starting your motorcycle with the tender still connected. Ignoring these guidelines can jeopardize both the safety of your motorcycle and the longevity of both the battery and the tender.
Five Best Practices for Using a Battery Tender
Using a battery tender can be a game-changer for maintaining your motorcycle’s battery health. Here are five best practices to ensure you get the most out of your battery tender while keeping your bike in top shape.
- Always Disconnect Before Starting:
Before you start your motorcycle, make it a point to disconnect the battery tender. Starting your bike with the tender still connected can cause electrical overloads and potential damage to both your battery and the tender. This simple habit can save you from costly repairs and keep your ride hassle-free.
- Regularly Inspect Connections:
Check the battery and tender connections frequently to ensure they are clean and secure. Loose or corroded connections can lead to poor performance and safety hazards. Treat your connections like the foundation of a house—if they’re not solid, everything built on top of them is at risk.
- Monitor Battery Health:
Keep an eye on your battery’s overall condition. Look for signs of wear, such as corrosion around the terminals or a bulging case. If your battery struggles to hold a charge, it might be time for a replacement. Think of your battery as the heart of your motorcycle; you wouldn’t ignore any irregularities in your health, so don’t neglect your battery’s well-being either.
- Choose the Right Battery Tender:
Not all battery tenders are created equal. If you frequently start your motorcycle, consider investing in a smart battery maintainer. These devices are designed to handle the demands of starting while providing consistent charging. This choice can make a significant difference in prolonging your battery’s lifespan and ensuring reliable performance.
- Follow Manufacturer Instructions:
Each battery tender comes with specific guidelines for use. Always read the manual and follow the recommended procedures for your device. These instructions help you maximize the tender’s effectiveness and keep your motorcycle battery healthy. Ignoring them is like trying to bake a cake without following the recipe—you might end up with a mess instead of a masterpiece.
Expert Tips for Motorcycle Battery Maintenance
Regular battery maintenance is essential to keeping your motorcycle ready for every adventure. Here are practical ways to extend your battery life and prevent frustrating roadside hiccups.
Routine Maintenance Tips
- Set Up Regular Inspection Schedules:
Carve out time every few months to inspect your battery. Look for visible wear and corrosion, and ensure all connections are tight. Think of this as a quick checkup—catching minor issues early can prevent big problems down the road.
- Keep Terminals Clean:
Corroded terminals can lead to poor battery performance, so a clean battery terminal is key. Use a wire brush and a bit of baking soda mixed with water to gently scrub away any corrosion. Keeping your terminals clean can make all the difference in starting power, especially when it counts the most.
- Watch the Water Level (for Lead-Acid Batteries):
If your battery isn’t sealed, regularly check and refill the water level with distilled water. It’s like watering a plant—just enough to keep it alive and thriving but not so much that it overflows. Always use distilled water to avoid mineral build-up, which could affect battery health.
Signs of a Failing Battery
- Slow Cranking or No Cranking at All:
If you notice the engine struggles to turn over, it might be a sign that your battery is reaching the end of its lifespan. Think of it as your battery’s way of hinting that it’s getting tired.
- Flickering Lights and Electrical Issues:
Dim or flickering lights can be another sign of a weak battery. Electrical accessories like lights or the horn that don’t perform at full capacity indicate your battery’s power output might be on the decline. When in doubt, consider a quick battery test to check its health.
- Low Voltage Readings:
Grab a multimeter to measure the voltage periodically. A healthy battery should show around 12.6 volts when fully charged. If the reading is consistently low, your battery might struggle to hold a charge and need replacement soon.
Temperature Considerations
- Cold Weather Prep:
Batteries are like people—extreme cold can slow them down. If you know winter’s around the corner, consider removing the battery or keeping it on a tender when not in use. Cold weather drains the battery faster, so a little extra attention can go a long way.
- Hot Weather Awareness:
High temperatures can accelerate battery fluid evaporation and lead to internal damage. During hotter months, ensure your battery is shaded or parked away from direct sunlight. Batteries might love a charge, but extreme heat can lead to an early breakdown.
By following these maintenance tips and watching for signs of trouble, you can extend the life of your motorcycle battery and ensure you’re ready to hit the road whenever the mood strikes. These small steps can keep your battery strong, reliable, and ready to ride along season after season.
Final Word
While starting a motorcycle with the battery tender connected is technically possible, it’s not advisable due to the potential risks involved. Electrical overload, sparks, and damage to both the battery and the tender can lead to costly repairs. Always disconnect the tender before starting your motorcycle for optimal safety and performance.
By following best practices for battery maintenance and using your tender correctly, you can ensure that your motorcycle is always ready to ride. Regular inspections and care will help you enjoy countless miles of adventure without worrying about a dead battery.
Frequently Asked Questions
How do I properly install a battery tender on my motorcycle?
To install a battery tender, connect the positive clamp to the positive battery terminal, followed by the negative clamp to the negative terminal. Ensure connections are secure. Plug in the tender and confirm indicator lights show it’s charging. Always follow the manufacturer’s instructions for safe installation.
How can I tell if my battery is being overcharged by the tender?
Overcharging signs include excessive heat, battery swelling, or leaking fluid. Many smart tenders have an automatic shutoff feature to prevent overcharging. Check for these signs periodically, especially if using a standard tender without auto-shutoff.
Can I leave the battery tender on all the time?
Yes, smart battery tenders with automatic shutoff can be left on indefinitely, as they maintain an optimal charge level without overcharging. However, regular tenders should only be used periodically to avoid overcharging, typically for a few hours at a time.
What should I do if my battery fails to charge?
If your battery won’t charge, first check the tender’s connections, ensuring they’re secure and free of corrosion. If issues persist, test the battery with a multimeter. A low or zero reading could indicate it needs replacement.

