why is there oil in my air filter box motorcycle
Finding oil in your motorcycle’s air filter box is like spotting a red flag at a bullfight—a sign that something’s not right.
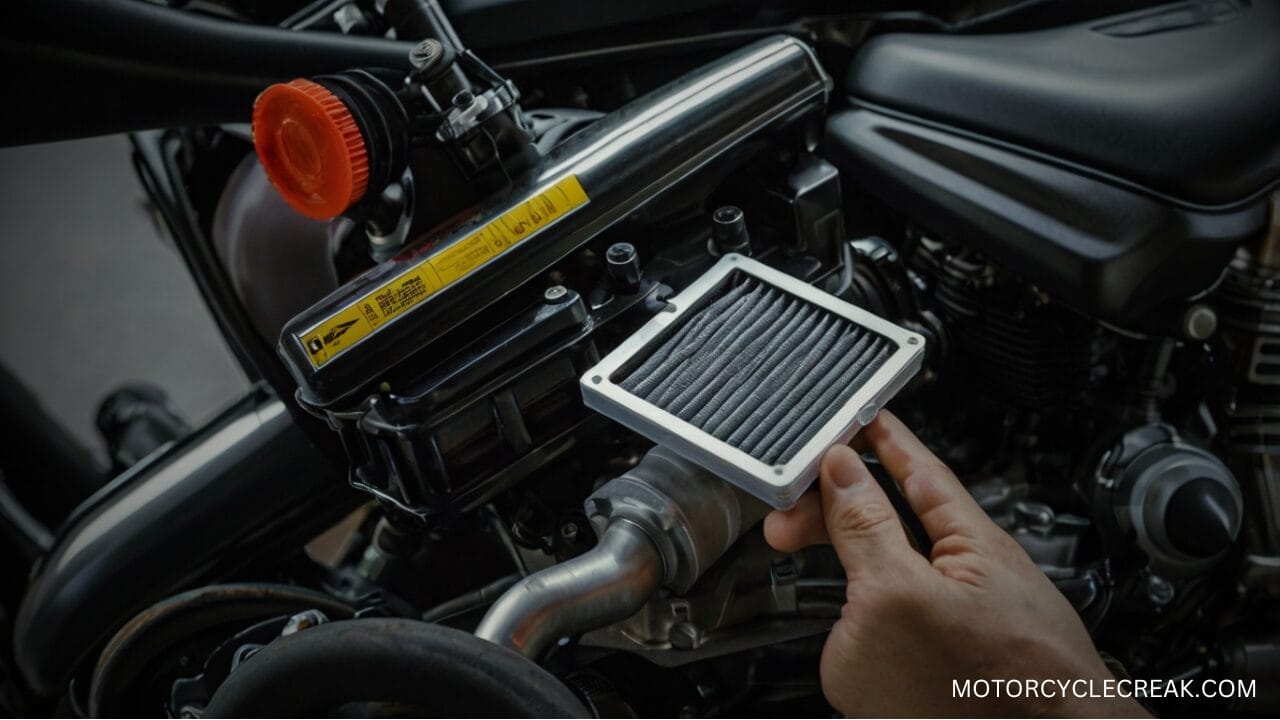
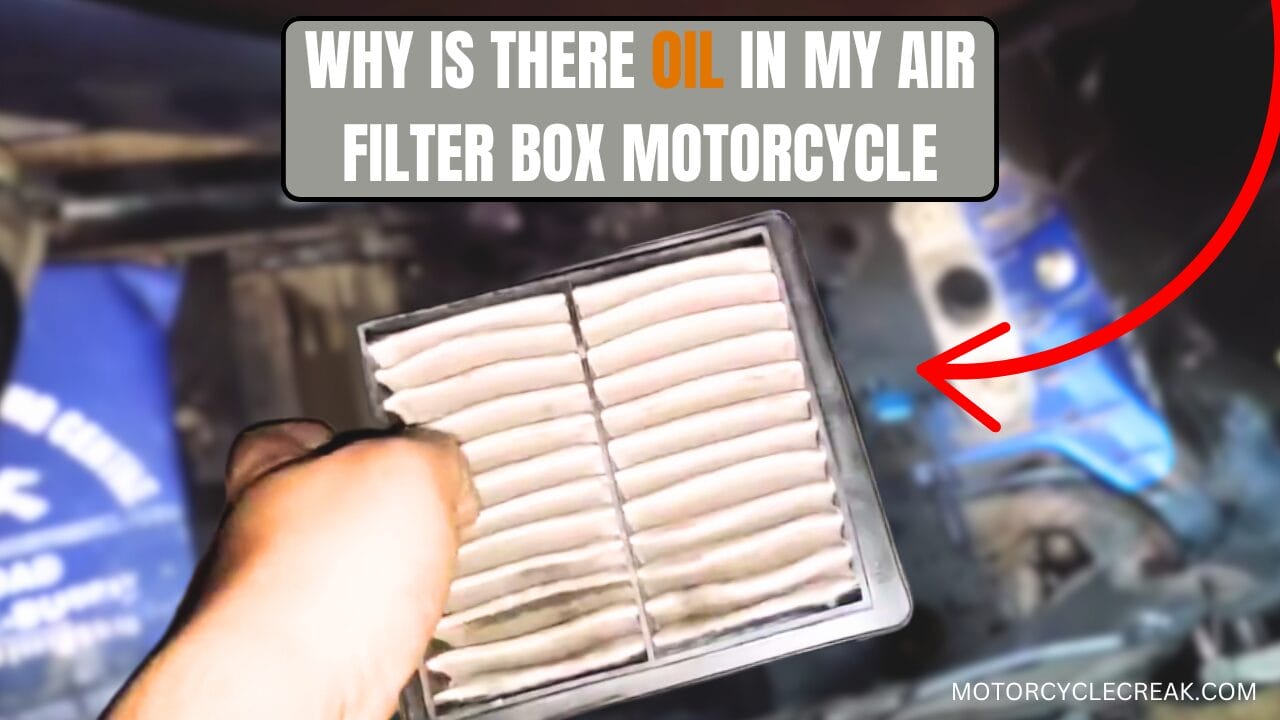
The air filter box in your motorcycle is like the gatekeeper for your engine’s air supply. It houses the air filter, which ensures that only clean air gets through to the engine. Think of it as a superhero shield, blocking out dirt, dust, and other unwanted debris that could harm your bike.
So having oil spill on your tiny air filter box can lead to more than just a messy filter.
Let’s know why is there oil in my air filter box motorcycle, and what problems it can cause with easy solutions.
Common Causes of Oil in the Air Filter Box (Checking Method & Solution)
Finding oil in your air filter box is like discovering a leaky roof—a sign that something needs fixing, pronto. Here are some common culprits behind this messy problem:

Overfilled Oil
One of the biggest offenders is overfilled oil. Think of it like overfilling a soda bottle—shake it up, and it’s bound to spill. Too much oil in the engine can get pushed into the air filter box, creating a sticky mess. Always keep your oil levels just right, like Goldilocks’s porridge—not too much, not too little, but just right.
How To Check:
First things first, grab your owner’s manual and locate the section on checking oil levels. With your motorcycle on a level surface, let the engine cool down a bit—checking hot oil can give you a false reading. Now, pull out the dipstick or check the oil sight glass, depending on your bike’s setup. Wipe the dipstick clean, dip it back in, and then pull it out again to see where the oil level sits. If it’s above the recommended mark, you’ve got an overfilled situation on your hands. If you’re using the sight glass, just ensure the oil level falls between the “min” and “max” lines.
Solution:
If you’ve confirmed there’s too much oil, don’t panic—fixing it is straightforward. Place a container under your bike’s oil drain plug, loosen it slightly, and let a little oil out. Think of it as letting off steam from a boiling kettle—just enough to bring the level back to normal. Tighten the plug back up, check the level again, and keep tweaking until it’s just right. Remember, less is more here, so add or remove oil in small amounts to avoid swinging from one extreme to the other. Once you’ve hit that sweet spot, you’re good to go, with no more worries about oil invading your air filter box.
Blow-by
Blow-by is a sneaky phenomenon where combustion gases slip past the piston rings and mix with the oil. This mix can end up in the air filter box. It’s like a pressure cooker letting off too much steam, sending oil where it doesn’t belong. Keeping your piston rings in good shape can help prevent this.
How To Check:
To see if the blow-by is the culprit, perform a compression test. Start by grabbing a compression tester and your trusty owner’s manual. The manual will guide you on removing the spark plugs and connecting the tester safely. Once everything’s set up, crank the engine a few times while keeping an eye on the gauge. Repeat this for each cylinder. You’re looking for consistent readings across the board. If one or more cylinders show significantly lower pressure, it’s a sign that your piston rings might be worn and letting those combustion gases sneak by.
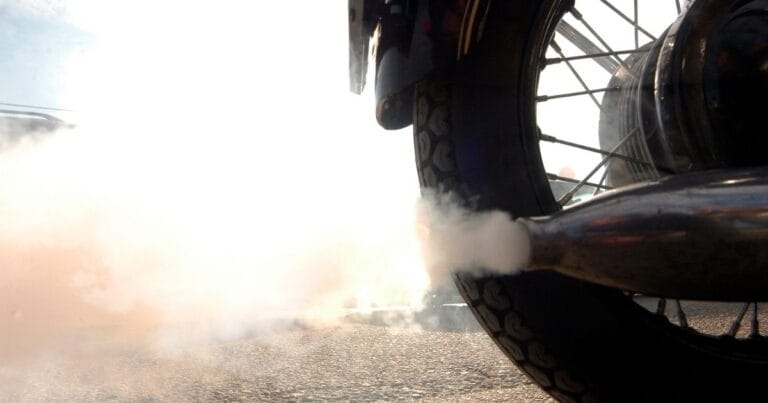
Another telltale sign is checking your exhaust. If you see blue smoke puffing out, especially during acceleration, blow-by is likely pushing oil into places it shouldn’t be, including your air filter box.
Solution:
If blow-by is the issue, your piston rings are worn out and need attention. Unfortunately, this isn’t a quick fix like topping off oil—it’s a more involved repair. Depending on the extent of the wear, you may need to replace the piston rings or even the entire piston assembly. If you’re handy with tools and have some engine knowledge, you can tackle this yourself, but it might be worth considering a professional mechanic for this job.
Clogged Crankcase Breather
Another common cause is a clogged crankcase breather. This breather is supposed to vent excess pressure from the engine, but when it’s blocked, pressure builds up and forces oil into the air filter box. It’s like a blocked chimney forcing smoke back into the house. Regularly checking and cleaning the breather can keep things flowing smoothly.
How To Check:
To check if a clogged crankcase breather is causing your oil problem, you’ll need to locate the breather hose first—your owner’s manual will point you in the right direction. Once you’ve found it, remove the hose carefully using wrenches or sockets. Now, give it a good look over. If you see gunk, oil buildup, or debris clogging the hose, that’s a red flag. You can also try blowing air through the hose. If it’s tough to push air through or completely blocked, you’ve found the culprit.
Solution:
If the breather hose is clogged, you have two options: clean or replace it. Use a hose cleaner or compressed air to blast out the debris for cleaning—think of it like unclogging a drain. Make sure it’s completely clear before reattaching it.
If the hose is cracked or too gunked up to clean, it’s better to replace it entirely. Once the hose is back in place, ensure everything is secure and reconnected properly.
Worn Piston Rings
Worn piston rings can also lead to oil in the air filter box. When these rings wear out, they can’t seal the combustion chamber properly, allowing oil to escape. It’s like trying to keep water in a bucket with holes—it’s just not going to work. If you suspect worn piston rings, it’s time for a repair or replacement.
How To Check:
To check if worn piston rings are the problem, you’ll need to perform a compression test, just like with blow-by. Grab your compression tester and remove the spark plugs, following your owner’s manual instructions. Attach the tester to the first cylinder, crank the engine, and note the pressure reading. Repeat this for each cylinder. If you notice one or more cylinders showing low compression, it strongly indicates that the piston rings are worn and aren’t sealing properly.
Another clue is your exhaust. If you see blue smoke billowing out, mainly when you rev the engine, it’s likely that oil is slipping past those worn rings and burning in the combustion chamber.
Solution:
Worn piston rings aren’t something you can fix with a quick tweak—they require more involved repairs. If your compression test indicates worn rings, replacing them is the best course of action. This involves disassembling engine parts, removing the old rings, and installing new ones. It’s a job that requires precision and patience, so if you’re not confident in your mechanical skills, it might be wise to have a professional handle it.
Other Potential Causes
Sometimes, the problem can be caused by other issues, like a faulty PCV valve or damaged gaskets. These components are essential for controlling oil flow and pressure. Oil can enter the air filter box if they’re not working properly. It’s always good to check these parts during regular maintenance to avoid surprises.
How To Check:
To check for these issues, locate the PCV (Positive Crankcase Ventilation) valve, usually connected to the engine’s crankcase. Remove the valve and shake it—if it rattles, it’s likely still functioning, but if it’s silent or clogged with oil, it’s time for a replacement.
For damaged gaskets, visually inspect areas around the valve covers, oil pan, and other joints for any signs of oil leaks or seepage. A flashlight can help you spot any cracks or deformations in the gaskets. Also, check for any oil stains or puddles around these areas, as there are clear signs of a failing gasket.
Solution:
If the PCV valve is faulty, replacing it is straightforward—just pop in a new valve, reattach it, and you’re good to go. It’s an inexpensive part, and swapping it out regularly can prevent bigger problems down the road.
For damaged gaskets, you’ll need to replace the faulty ones. This involves removing the old gasket, cleaning the mating surfaces, and installing a new one to ensure a proper seal. Following the correct torque specifications when tightening bolts is essential to avoid crushing the new gasket. A professional mechanic can do the job if you’re unsure about tackling this alone.
Regularly inspecting and maintaining these components will help keep your engine running smoothly and prevent oil from ending up in your air filter box. Just like checking the foundation of a house, maintaining these parts in check ensures everything else stays in good working order.
Preventative Maintenance Tips
A little preventative maintenance goes a long way to keep your motorcycle running smoothly and avoid the headaches of oil in the air filter box. Here’s how you can stay ahead of the game:
Regular Oil Checks: Watch your oil level like a hawk. Check it frequently, especially after an oil change, to ensure it’s at the perfect level—not too high or too low. This simple habit can prevent overfilling and the mess that comes with it.
Change Oil and Filters on Schedule: Stick to the manufacturer’s recommended oil change intervals. Fresh oil and clean filters ensure your engine is well-lubricated and protected, reducing the risk of blow-by and other issues.
Inspect the Crankcase Breather: During your regular maintenance routine, make it a point to check and clean the crankcase breather. Keeping it clear ensures that pressure doesn’t build up and force oil where it doesn’t belong.
Perform Compression Tests: Periodically perform compression tests to monitor your piston rings’ health. Catching low compression early allows you to address worn piston rings before they lead to more serious problems.
Check the PCV Valve: Give your PCV valve a shake test now and then. If it’s clogged or not rattling, replace it right away. A PCV valve maintains proper pressure and prevents oil from escaping into the air filter box.
Inspect Gaskets for Leaks: Regularly check around valve covers, oil pans, and other joints for any signs of leaks. Spotting and replacing a damaged gasket early can prevent bigger issues down the road.
Use Quality Oil and Parts: Don’t cut corners regarding oil and replacement parts. High-quality oil and components ensure better performance and longevity for your engine, helping prevent wear and tear on critical parts like piston rings and gaskets.
Keep an Eye on Exhaust Smoke: Pay attention to any changes in your exhaust smoke. Blue smoke can be an early warning sign of blow-by or worn piston rings, so don’t ignore it—investigate and address the issue promptly.
Listen to Your Engine: Your bike often tells you when something’s off. Unusual noises, decreased performance, or difficulty starting could be signs of underlying issues that need attention. Don’t wait—diagnose and fix them before they snowball into more significant problems.
By following these maintenance tips, you’ll keep your motorcycle running smoothly and avoid the common pitfalls that lead to oil in the air filter box. It’s all about keeping things in check and catching small issues before they become big headaches.
When to Seek Professional Help

Even with the best maintenance habits, sometimes calling in the pros is wise. Here’s when you should consider getting some expert help:
- Persistent Oil Issues: If you’ve tried the essential fixes—like adjusting oil levels, cleaning the crankcase breather, or replacing the PCV valve—but oil keeps finding its way into the air filter box, it’s time to get a mechanic involved. Persistent issues might point to something more complex that needs professional diagnosis.
- Low Compression Readings: If your compression test shows low readings in one or more cylinders, this could indicate worn piston rings or other internal engine problems. Replacing piston rings or rebuilding an engine isn’t a DIY project for most riders—it requires specialized tools and expertise, so it’s best left to a professional.
- Visible Engine Damage: If you notice any cracks, leaks, or obvious damage to engine components during your inspections, don’t hesitate to seek professional help. Trying to patch up severe damage on your own can lead to more trouble.
- Unfamiliar Noises or Smoke: If your bike starts making strange noises or if you see excessive smoke from the exhaust, don’t ignore these signs. They can be early indicators of serious engine problems that require a professional’s attention.
- Major Oil Leaks: If oil leaks heavily from your bike and you can’t pinpoint the source or fix it with a simple gasket replacement, it’s time to bring in a mechanic. Major leaks can lead to dangerous riding conditions and further damage to your engine.
- Complex Repairs: For issues like worn piston rings, damaged gaskets, or internal engine repairs, it’s often best to leave it to the professionals. These jobs require precision, and a small mistake can lead to bigger problems—or even total engine failure.
- Uncertainty: If you’re unsure about any part of the diagnostic or repair process, it’s always better to get professional advice. Missteps in motorcycle maintenance can be costly, and a skilled mechanic can ensure that the job is done right the first time.
Remember, motorcycles are complex machines, and while DIY maintenance is excellent, knowing when to seek help is just as important. A good mechanic can save you time, money, and a lot of frustration, keeping your bike running smoothly and safely.
Final Verdict
Keeping your motorcycle in top shape is like maintaining a close friendship—it requires regular attention, care, and a keen eye for the little things. Finding oil in your air filter box might seem minor, but it’s often a clue to more significant underlying problems. By staying vigilant with your maintenance routine, addressing issues promptly, and knowing when to call in the pros, you can keep your bike running smoothly for miles to come. After all, a well-maintained motorcycle performs better and keeps you safer on the road. So, keep your check ride, listen to what it’s telling you, and enjoy the journey with peace of mind.


